A proper podcast studio setup is the key to professional-sounding audio that captivates listeners. To get started, you’ll need a quiet recording space, a quality microphone (USB for beginners, XLR for pros), headphones for monitoring, and recording software. By focusing on acoustic treatment and selecting the right gear for your budget, you can create a high-quality podcast from home or a dedicated studio.
Have you realized how crucial sound quality is for growing your brand, engaging your audience, and retaining listeners? Whether you’re planning a podcast studio setup at home or a professional space in Dubai, getting the foundation right is everything. If you’re wondering how to set up a podcast, don’t worry! This comprehensive guide from Studio 321 has all the information you need.
If you have any questions or concerns about how to book a podcast studio in Dubai or rent mobile studio equipment or services in the UAE, please enter your number in the form below.
We will contact you.
| Component | Brief Explanation | Key Tip |
|---|---|---|
| Recording Space | The physical environment where you record. Its acoustics are the most critical factor for sound quality. | Choose a small, quiet room with soft surfaces like carpets and curtains to minimize echo. |
| Acoustic Treatment | Materials used to absorb or diffuse sound, reducing reverb and unwanted noise. | Start with DIY solutions like blankets, then add acoustic panels and bass traps as you grow. |
| Core Audio Gear | The essential hardware: microphone, audio interface/mixer, and headphones. | Invest in the best microphone you can afford; it has the biggest impact on your sound. |
| Software (DAW) | The program used to record, edit, and mix your audio. | Beginners can start with free options like Audacity, while pros may prefer Adobe Audition or Descript. |
| Video Equipment | Cameras and lighting needed for video podcasts. | Good lighting (like a 3-point setup) is more important than an expensive camera. |
Part 1: The Foundation – Choosing and Treating Your Recording Space
Before you spend a single dirham on a microphone, perfect your recording environment. The location you choose makes the biggest difference in sound quality. If the space isn’t right, even the best microphone will capture echo, reverb, and background noise. When learning how to set up a podcast studio, this is your first and most important step.
Choosing the Right Space
The location you pick to record makes the biggest difference in sound quality and the final podcast. If the space isn’t right, your voice might end up with noise and distortion. So, when choosing a space for podcasting, consider these points:
- Avoid Large, Empty Rooms: Big spaces with high ceilings create echo and reverb, making your voice sound distant and unprofessional.
- Beware of Hard Surfaces: Sound waves bounce off hard surfaces like tile floors, large windows, and bare walls. This reflection is what causes unwanted reverb.
- Embrace Small, Cozy Rooms: A small room filled with soft surfaces is ideal. Think walk-in closets, small bedrooms, or offices with carpets, curtains, bookshelves, and furniture. These items naturally absorb sound.
- Isolate from Noise: Pick a spot that doesn’t share walls with noisy areas like the kitchen, a busy street, or a children’s playroom. A quiet corner of your home is perfect for a podcast basic setup.
Choosing the right space is important. But the sound insulation of the space is even more important for recording.
Acoustic Treatment: Taming Your Room’s Sound
After choosing a space, the next step is acoustic treatment. This involves adding materials to your room to control sound reflections. The goal is to create a “dead” space where your microphone only picks up your voice, not the room’s echo. This is a crucial part of any podcast setup guide.
Here are three key types of equipment:
Acoustic Panels
Acoustic panels are the workhorses of sound absorption. They are designed to soak up mid-to-high frequency sound waves, drastically reducing echo and flutter. They are typically made of foam or mineral wool covered in fabric and can be mounted on walls or flat surfaces, especially at the first-reflection points (the spots on the walls where sound from your mouth would bounce directly into the microphone).
Bass Traps
Low-frequency sounds (the “bass”) tend to build up in the corners of a room, creating a muddy, boomy sound. Bass traps are specifically designed to absorb this low-frequency energy. They are usually thick foam or fiberglass panels placed in the corners of the room, from floor to ceiling if possible.
Diffuser Panels
Unlike panels and traps that absorb sound, diffusers scatter it. This prevents echo without making the room sound completely “dead.” It helps maintain a more natural, lively ambiance. Diffusers often have uneven, 3D shapes that spread sound waves evenly across the room.
Pro Tip for Beginners: Don’t have the budget for professional panels? Hang heavy blankets or duvets on your walls. A bookshelf filled with books behind you also works as an excellent diffuser!

Part 2: Essential Equipment for Podcasting – Your Core Audio Gear
With your room treated, it’s time for the fun part: the gear. This podcast studio setup guide covers the must-have podcast studio equipment. Great content and the right tools go hand in hand. Let’s break down what you need.
1. The Microphone: Your Voice’s Gateway
The microphone is the heart of your setup. It captures your voice and is the single most important piece of hardware for determining your sound quality.
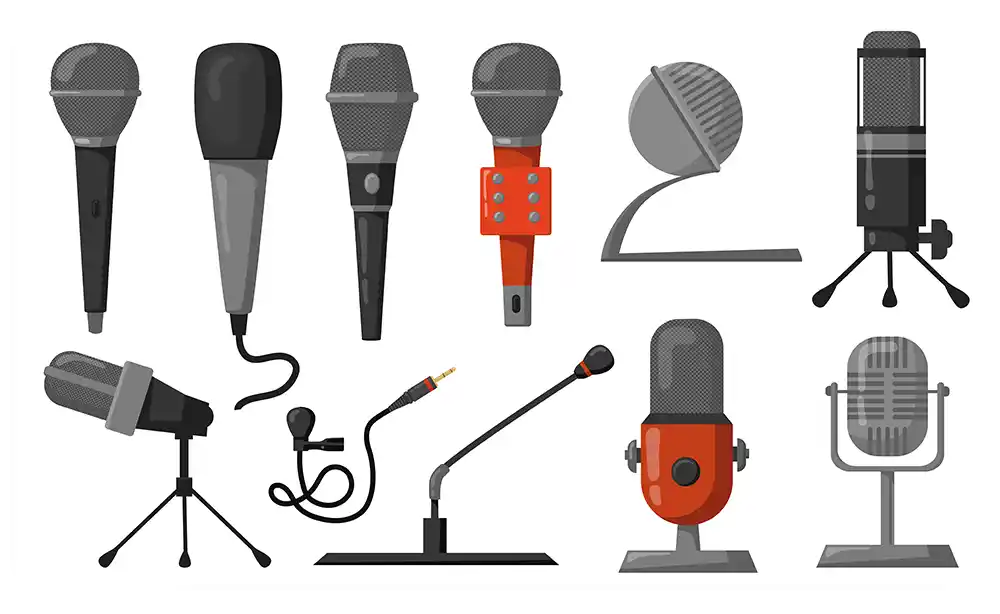
Microphone Types: Dynamic vs. Condenser
Dynamic Mics: These are less sensitive and more rugged. They are fantastic at rejecting background noise, making them ideal for recording in less-than-perfect rooms or for multiple speakers. The legendary Shure SM7B is a dynamic mic.
Condenser Mics: These are highly sensitive and capture rich, detailed audio. They’re excellent for quiet, well-treated studio environments. Most USB mics are condensers.
Connection Types: USB vs. XLR
XLR Microphones: The professional standard. These mics require an external device, an audio interface or mixer, to connect to your computer. They offer superior sound quality, durability, and the flexibility to build a multi-microphone setup.
USB Microphones: Perfect for a podcast studio setup for beginners. They are plug-and-play, connecting directly to your computer’s USB port. They are simple, affordable, and deliver excellent quality for solo hosts or online interviews.
2. Audio Interface or Mixer: The Brains of the Operation
If you choose an XLR microphone, you’ll need an interface or a mixer. These devices convert the analog signal from your microphone into a digital signal your computer can understand.
You need an audio interface or mixer if:
- You are using one or more XLR microphones.
- You want to record multiple people in the same room.
- You plan to incorporate live sound effects, music, or calls during recording.
An audio interface (like the Focusrite Scarlett 2i2) is perfect for one or two microphones. A mixer (like the Rodecaster Pro II or Yamaha MG10XU) offers more control, allowing you to manage multiple audio sources, adjust levels on the fly, and add effects.

3. Headphones & Studio Monitors: Your Audio Compass
You can’t fix what you can’t hear. Monitoring your audio is non-negotiable for producing a quality podcast.
Headphones
Over 70% of podcasters use headphones while recording. They allow you to hear exactly what the microphone is capturing in real-time, including plosives, background noise, or level issues.
Open-back headphones produce a more natural sound but leak audio, making them suitable for editing and mixing, but not for recording vocals.
Closed-back headphones (e.g., Audio-Technica ATH-M50x, Beyerdynamic DT 770 Pro) are essential for recording. They provide excellent sound isolation, preventing the headphone audio from “bleeding” into your microphone.
We recommend reading the article Best Headphones with Mic for Podcasting to get familiar with the best models.
Studio Monitors
Studio monitors are specialized speakers designed for a flat, accurate frequency response. They reveal every detail, flaw, and nuance in your recording, which is crucial for the editing and mixing phase to ensure your podcast sounds great on any playback system.
Note: If you’re just starting out and don’t want to pay a lot for equipment, renting a studio is a great option. Renting a podcast studio gives you access to professional benefits, like accurate sound monitoring with advanced equipment.
4. Essential Accessories You Can’t Ignore
These small items make a huge difference in professionalism and ease of use.
- Quality Cables: Don’t compromise on cables. A poor-quality cable can introduce noise and signal loss. For XLR, brands like Mogami are trusted. For USB, look for well-shielded cables from brands like AudioQuest.
- Pop Filter/Windscreen: This is a must-have. It’s a screen placed between your mouth and the microphone to reduce “plosives”—the harsh pops of air from “P” and “B” sounds.
- Microphone Stand: A stand keeps the mic stable and at the perfect distance from your mouth. A boom arm is highly recommended as it clamps to your desk, saves space, and allows for easy positioning.
- Shock Mount: This device suspends the microphone, isolating it from vibrations transmitted through the mic stand or desk, such as typing or bumping the table.

Part 3: Podcast Equipment Setups for Every Budget
A great podcast studio setup doesn’t have to break the bank. Here’s how you can get started at any level.
Beginner Setup ($200 – $500)
- Microphone: A high-quality USB mic like the Blue Yeti, Rode NT-USB+, or Audio-Technica AT2020+ USB.
- Headphones: Solid closed-back headphones like the Audio-Technica ATH-M20x or Sony MDR-7506.
- Accessories: A desktop mic stand and a pop filter.
Intermediate Setup ($500 – $1500)
- Microphone: An XLR mic like the Rode PodMic or a hybrid USB/XLR mic like the Shure MV7.
- Audio Interface: A reliable 2-channel interface like the Focusrite Scarlett 2i2 or Audient EVO 4.
- Headphones: Professional-grade cans like the Audio-Technica ATH-M50x.
- Accessories: A quality boom arm, shock mount, and an XLR cable.
Professional Setup ($1500+)
- Microphone: A broadcast-standard dynamic XLR mic like the Shure SM7B or Electro-Voice RE20.
- Audio Interface/Mixer: A dedicated podcast production studio like the Rodecaster Pro II or a high-end interface.
- Headphones: Top-tier monitoring headphones like the Beyerdynamic DT 770 Pro (80 Ohm).
- Acoustic Treatment: A full set of acoustic panels and bass traps.
- Studio Monitors: A pair of accurate monitors like the Yamaha HS5 or KRK Rokit 5.
Part 4: The Digital Studio – Podcast Recording & Editing Software
Your hardware captures the sound, but your software is where the magic happens. A Digital Audio Workstation (DAW) is the program you’ll use to record, edit, and produce your podcast. For more details, check our dedicated article on Podcast Recording Software.
- Free Options:
- Audacity: The classic free choice. It’s powerful, open-source, and available for all platforms. It has a bit of a learning curve but can handle professional-level editing.
- GarageBand: Free for Mac users, it’s incredibly intuitive and a great starting point.
- Paid/Professional Options:
- Adobe Audition: The industry standard for audio production. It offers powerful tools for recording, restoration, and mixing as part of the Adobe Creative Cloud suite.
- Descript: A revolutionary editor that works like a word processor. It automatically transcribes your audio, and you can edit the audio by simply editing the text.
- Hindenburg Journalist: Designed specifically for podcasters and radio journalists, it automates levels and makes editing spoken word incredibly simple.
Part 5: For Video Podcasts – Lighting and Visuals
If you’re creating a video podcast, your visual presentation is a reflection of your brand. A good-looking set shows you value your audience and keeps them engaged.
Lighting Your Set
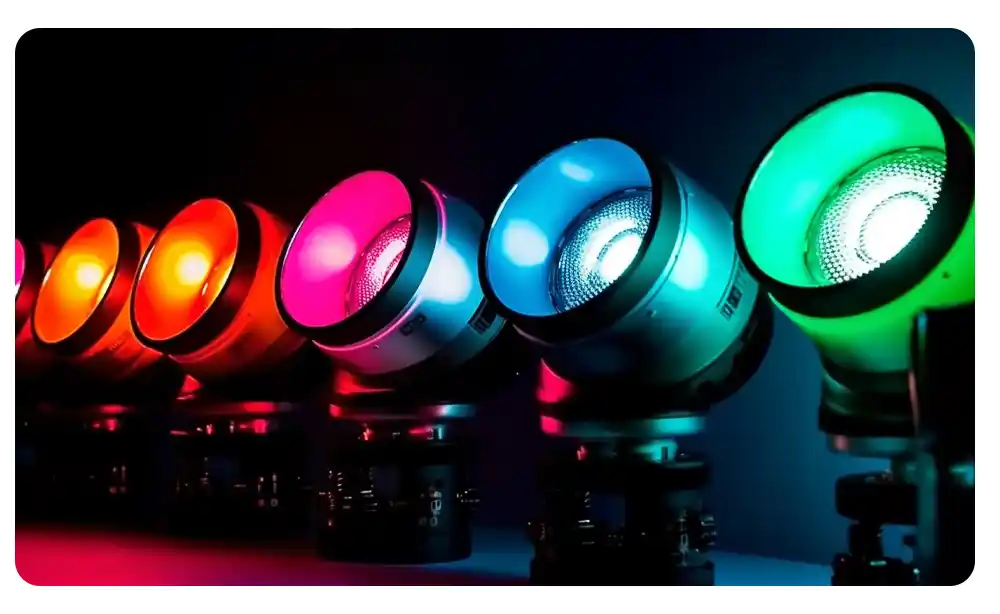
Good lighting is the most important element of video. The “three-point lighting” technique is the professional standard:
- Key Light: Your main, brightest light, placed to one side of the camera. The Elgato Key Light is a popular, space-saving choice.
- Fill Light: A softer light on the opposite side to “fill in” shadows created by the key light. A softbox is excellent for this.
- Back Light (or Hair Light): Placed behind you to separate you from the background, creating depth. A ring light can sometimes double as a key or fill light for solo presenters.

Decor and Branding
Your background should be intentional and clutter-free. Here are some tips:
- Theme it: Let your set design reflect your podcast’s topic.
- Brand it: Incorporate your logo or brand colors subtly in the background. A custom neon sign or a branded mug can be a simple but effective touch.
- Keep it Clean: A clean, organized background looks professional. A simple bookshelf, a plant, and some accent lighting go a long way.
Part 6: Final Steps – Technical Setup and Testing
Before you hit record on your first episode, run a full technical check. This simple process saves countless hours of frustration.
- Connect Everything: Plug in your microphone, interface, and headphones.
- Set Your Levels (Gain Staging): This is critical. Open your DAW and speak into the microphone at your normal talking volume. Watch the input level meter. Adjust the “gain” knob on your interface or mic so that your voice level consistently peaks between -12dB and -6dB. If it goes into the “red” (0dB), your audio will distort.
- Do a Test Recording: Record yourself speaking for 30-60 seconds. Listen back carefully through your headphones. Is the volume good? Is there any background hum or hiss? Are your “P”s and “B”s popping?
- Adjust and Re-test: If you find issues, adjust your mic position, gain level, or room setup and test again. Repeat until you’re happy with the sound.
Conclusion: Build or Rent? The Smart Path to Professional Podcasting
Following this podcast studio setup guide will empower you to create a high-quality show from scratch. Focusing on the details, from acoustic treatment to proper gain staging, is what separates amateur podcasts from professional ones.
However, building a studio involves time, research, and significant financial investment. For many creators, especially those in a competitive market like Dubai, there’s a smarter alternative: renting a professional studio.
Renting a Dubai podcast studio gives you instant access to a perfectly treated room and high-end equipment without the upfront cost and hassle. It’s an opportunity to focus solely on your content while benefiting from a polished, professional sound. To understand more, explore the Benefits of Professional Podcast Studios.
If you need advice on purchasing equipment or are looking for a state-of-the-art podcast and video studio for rent in Dubai, Studio 321 is here to help. Our facility offers advanced equipment and expert support to make your podcasting journey a success.
FAQ: Podcast Studio Setup Guide
What is the most basic podcast setup?
The most basic podcast setup includes a quality USB microphone, a pair of closed-back headphones, and free recording software like Audacity or GarageBand on your computer.
Do I need a mixer for a podcast?
You don’t need a mixer if you’re a solo podcaster using a USB microphone. However, a mixer or audio interface is essential if you use an XLR microphone or plan to have multiple hosts or audio inputs.
How can I improve my podcast audio quality at home?
To improve audio quality at home, record in a small, carpeted room with soft furnishings. Use acoustic panels or even blankets to absorb echo, and always use a pop filter to reduce harsh ‘P’ and ‘B’ sounds.
Is a USB or XLR microphone better for podcasting?
USB microphones are great for beginners due to their plug-and-play simplicity. XLR microphones offer superior sound quality and flexibility, making them the choice for professional podcasters, but they require an audio interface or mixer.
How much does a beginner podcast studio setup cost?
A good quality beginner podcast studio setup can cost anywhere from $200 to $500, which typically covers a reliable USB microphone, headphones, and a pop filter.

